11 Individual Soccer Drills to Use Solo (2024 Update)
Your backyard is the perfect setting for honing your soccer skills, practicing techniques, and making crucial improvements outside of organized training.
Individual soccer drills help you keep sharp, improve your weaknesses, and take major leaps in the off-season.
Yet despite the obvious benefits, many players fail to put in the hard yards in their spare time.
So to help you, this list contains a selection of 9 individual soccer drills for your backyard.
While the exercises vary in difficulty levels, they are all beginner-friendly.
However, if you’re still finding them difficult, don’t be afraid to scale them down to a level that suits your playing abilities.
Start with the low-intensity, warm-up style exercises and gradually work toward more rigorous activities.
11 Individual Soccer Drills
1. Juggling
Difficulty Rating - 2 / 5
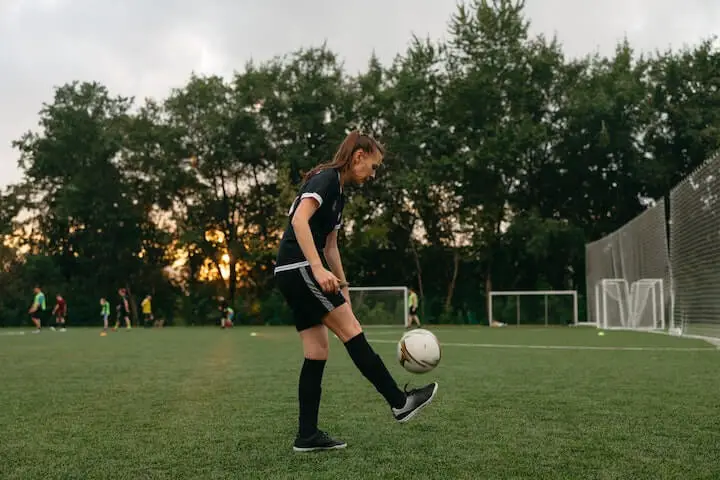
Juggling, at its simplest form, is relatively straightforward.
It involves keeping the ball off the ground through several consecutive kicks or knees.
You can even use your chest, head, or shoulders to keep the ball under control.
It’s a good warm-up drill as it gets the body moving and helps you get a feel for the ball.
As you improve, consider throwing flashy tricks into your routine, like backheels or stepovers.
Benefits of Juggling:
- Light warmup exercise
- Foot-eye coordination
- Improves first touch
- Helps with quick feet
- Practice with different body parts
Variation #1
a. Start with the ball in your hands.
b. When you’re ready, drop the ball onto your dominant foot.
c. With your toes curled toward the sky, make a subtle kick upward to a controlled height and allow the ball to fall back toward your foot.
d. Repeat this as many times as you can.
e. Set a target for consecutive juggles and keep practicing until you hit it.
f. Once you’re comfortable juggling with your dominant foot, change to your weaker foot.
Variation #2
a. Start with the ball in your hands.
b. As with the first variation, drop the ball onto your foot and begin to juggle.
c. Rather than using one foot exclusively, kick the ball back and forth with your left and right feet.
d. Again, set targets for consecutive juggles.
Variation #3
a. Start with the ball at your feet.
b. Scoop or flick the ball into the air.
c. Wait for the ball to fall naturally and start juggling the ball as usual.
d. Once you’re comfortable flicking and juggling the ball with your feet, start to introduce your knees, chest, head, and shoulders.
2. Cone Dribbling Weave
Difficulty Rating - 3 / 5
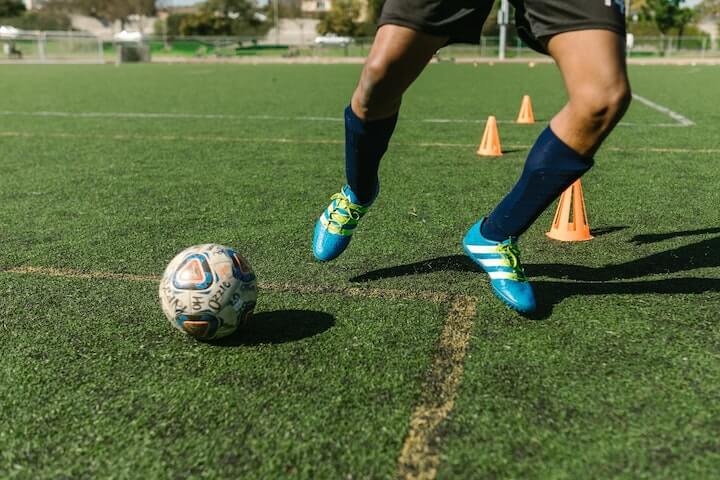
Players at virtually every level can use the cone dribbling weaves as warm-ups or footwork drills.
This type of exercise mimics movements you’re likely to make in a real game when dribbling out of trouble or trying to go past a defender.
A useful aspect of a cone dribbling weave is that players can scale it as needed, from a slow and methodical activity to a faster and more intense drill.
Benefits of Cone Dribbling
- Promotes quick feet
- Improves agility
- Improves first touch and close control
- Increases dribble speed
- Can be incorporated into other drills
Cone Dribbling Instructions:
a. Set up 4 cones in a row, each approximately 1 to 2 feet apart (place clones closer together if you’re more advanced).
b. Start at one end of the row with the ball at your feet.
c. Begin the drill by dribbling through each gap from one side to the other.
d. Once you reach the end, turn around and repeat.
e. Repeat the entire drill for repetitions or a certain amount of time.
f. The focus should be on precision dribbling but you can increase your speed as you improve.
3. Basic Wall Passes
Difficulty Rating - 3 / 5
Wall passes are a staple backyard or street exercise that can be extremely beneficial.
Manchester United legend, Paul Scholes, frequently talks about his younger days spent repeatedly kicking a ball against a wall or a street curb to improve his first touch and passing accuracy. As someone widely regarded as the best midfielder to play in the Premier League, young players should take note.
For these drills, a wall isn’t absolutely necessary. All you truly need is a surface to rebound the ball against, so a curb, overturned bench, or pillar should suffice.
Benefits of Wall Passes
- Passing accuracy
- First touch
- Passing with both feet
- Reaction speed
- Quick feet
Variation #1
a. Stand approximately 3 to 5 feet from the wall with the ball at your feet.
b. Start by passing the ball against the wall with enough power that it comes right back to you - this might take some practice.
c. When the ball returns to you, take one touch to control the ball, then play another pass.
d. Repeat until you make 10 to 20 passes.
e. Once you’re comfortable completing multiple passes on your dominant foot, practice using your weaker foot, or interchanging between feet.
f. Increase the distance from the wall to make this drill more difficult.
Variation #2
a. Place one cone or marker around 3 to 5 feet from the wall.
b. Stand on one side of the cone with the ball at your feet.
c. Start by passing the ball against the wall, as before.
d. When the ball returns to your feet, take a touch to bring it to the opposite side of the cone and make a pass from that side.
e. Repeat the drill multiple times, shuffling from one side of the cone to the other.
4. Figure 8 Dribbling
Difficulty Rating - 3.5 / 5
Some players are natural dribblers, with the ball seemingly glued to their feet at all times.
Despite this, practicing close ball control is essential to ensure you can weave yourself out of trouble consistently.
Figure 8 dribbling is one of the best individual soccer drills to take your on-the-ball movement and balance to a new level.
What’s more, it requires minimal equipment and space.
Benefits of Figure 8 Dribbling:
- Close ball control
- Dribbling using different parts of the foot
- Changing direction while dribbling
- Balance
- Quick turns
Figure 8 Dribbling Instructions:
a. Set up two cones or markers approximately 10 feet apart.
b. Stand with the ball at your feet, slightly behind the first cone.
c. Start by dribbling toward one side of the cone.
d. Once you hit the side of the cone, take small short touches to dribble the full way around it.
e. After rounding the first cone, dribble to the next and repeat the same 360-degree rotation.
f. Repeat the drill 5 to 10 times, using different parts of the foot, like the instep, the outstep, or even the sole.
g. If you want to focus on speed, time each repetition, or see how many full rotations you can complete in a set period of time.
5. Slalom Dribbling
Difficulty Rating - 3 / 5
While it’s important to practice close ball control drills and break down the fundamentals of moving with the ball, some of these exercises don’t apply directly to in-game situations.
Slalom dribbling is another useful dribbling exercise designed to represent more game-like dribbling scenarios.
It involves a series of longer runs and lateral turns that can help you learn to beat a player in a live match.
Benefits of Slalom Dribbling:
- Dribbling at speed
- Quick turns and direction changes
- Dribbling over longer distances
- Speed and acceleration
- Ball control
Slalom Dribbling Instructions
a. Set up 4 cones in a zig-zag formation, with each cone approximately 10 feet apart.
b. Stand at a cone on one end of the grid with the ball at your feet.
c. Begin the drill by dribbling toward the first center cone.
d. Once you reach this cone, decelerate quickly, change direction, and dribble toward the second center cone.
e. Dribble around the second center cone, then sprint dribble past the final cone in the grid.
f. Once you pass the final cone, stop, turn, and repeat the drill from the opposite side.
g. You can scale up the difficulty by practicing with your weaker foot or using skill moves when dribbling around each cone.
h. Work on your speed and acceleration by timing each repetition.
6. Gate Passing
Difficulty Rating - 3.5 / 5
Some players don’t practice passing in their spare time because they assume they'd need a partner to receive the ball.
However, this is not always the case.
You can practice virtually every individual skill just in your backyard.
Gate passing is a hugely beneficial exercise that helps with target fixation, passing accuracy, and technique.
It involves repetition, helping the movements become muscle memory which will have a direct impact on your in-game performance.
Benefits of Gate Passing:
- Passing accuracy
- Passing at different angles
- Passing technique
- Gauging distance
- Passing with both feet
Gate Passing Instructions:
a. Place one cone on the ground as your starting point.
b. Create 3 passing gates (using 2 cones for each, 4 feet apart) positioned 15 feet from the starting point: one to the left, one directly in front, and one to the right.
c. If possible, gather multiple balls and place them at the starting point.
d. To begin the drill, make a pass between the gate to your left, then make a pass through the central gate, and finally, make a pass through the gate on your right.
e. Take note of how many accurate passes you make.
f. Repeat the drill 5 to 10 times, recording your successful passes.
g. Each time you perform the drill, take note of completed passes and try to beat your record on every try.
h. Consider increasing the distance between to practice longer passing.
i. Repeat this drill using your left and right feet.
7. Dribble and Shoot
Difficulty Rating - 3.5 / 5
Certain backyard drills incorporate multiple skills that translate seamlessly to in-game scenarios.
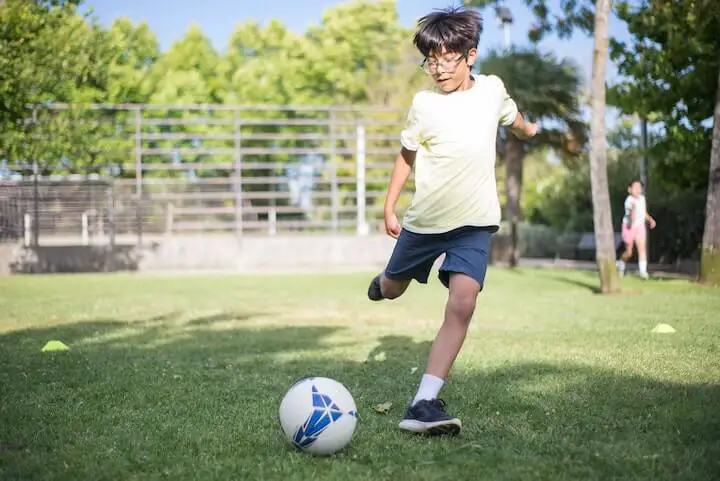
Dribble and shoot is a simple but direct exercise that simulates a 1v1 situation outside your opponent's penalty box.
This drill works best if you have goalposts -- but they are not essential.
As long as you have a shooting target to gauge your accuracy, the exercise is valuable.
Benefits of Dribble and Shoot:
- Dribbling at speed
- 1v1 skill moves
- Shooting accuracy
- Shooting while moving
- Agility
Dribble and Shoot Instructions:
a. Set up a goal or a target
b. Place a cone around 50 feet from the target and another approximately 60 feet from the target.
c. Stand at the furthest cone with the ball at your feet.
d. Start the drill by dribbling at speed toward the first cone.
e. Once you get to the cone, use a skill move to move past it to one side.
f. Take a touch if necessary, find your balance, and take a shot on goal.
g. Repeat the drill 5 to 10 times and record your successful shots.
h. Practice going both sides and using your strong and weak feet.
i. At first, don’t focus on performing complex skill moves -- start with the basics and get more creative as you progress.
8. Target Practice
Difficulty Rating - 3 / 5
Target practice essentially involves taking several penalties.
However, the objective is to focus on specific targets with each shot to improve accuracy.
If you don’t have goalposts, create targets any way you can -- either by hanging sweaters on trees, placing buckets on the ground, or putting marks on fences.
Benefits of Target Practice:
- Shooting accuracy
- Striking technique
- Practicing hitting targets on different parts of the goal
- Composure
- Penalty practice
Target Practice Instructions:
a. Set up a goal or targets.
b. Mark a penalty spot 36 feet (12 yards) from the goal.
c. Place the ball on the penalty spot and take a few steps back to create a comfortable run up.
d. Pick a spot on goal or aim for a specific target.
e. It’s typically a good idea to aim for the bottom left or right corner at first, then work your way around the goal in a clockwise or counter clockwise direction with each shot.
f. Take your run up and shoot.
g. Repeat the shot 3 times aiming at the same target before moving to the next.
h. Record your successful shots and aim to improve every time you practice this drill.
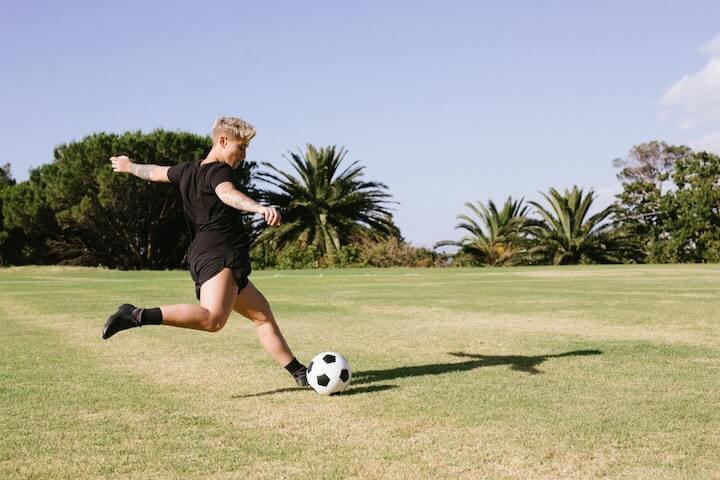
9. Long Passing
Difficulty Rating - 4 / 5
Long passing is an underappreciated art form.
When watching professionals effortlessly ping crossfield passes or inch-perfect through balls, many don’t realize how difficult the skill actually is.
It requires hours of practice and consistent technique drilling to become even somewhat competent.
Luckily, there is a straightforward but highly effective backyard drill that can help you improve significantly.
Benefits of Long Passing:
- Passing technique
- Passing accuracy
- Lofting the ball
- Gauging distance
- Target fixation
Long Passing Instructions:
a. Create a 4-cone square grid with 5 feet between each cone.
b. Place another cone around 50 feet from the square grid, marking the starting point.
c. Stand at the single cone with multiple balls (if possible).
d. Begin the drill by chip-passing the ball into the square grid.
e. The aim is to land the ball directly inside the target area without it touching the ground first.
f. Make 10 passes and record your successful attempts.
g. Repeat the drill 5 times and try to beat your previous score with every attempt.
h. Increase or decrease the passing distance if necessary.
i. You can also try different passing techniques, like ground passing, outside-the-boot passing, bounce passing, or weak foot passing.
10. Dribble and Backpedal
Difficulty Rating - 1/5
Most players perform individual drills in their backyard to improve on their weaknesses.
Dribbling defending, and fitness are soccer skills that can always be worked on.
Dribble and Backpedal is a simple way to work on each one.
It involves dribbling to a cone, leaving the ball, and then backpedaling to the start position (repeating this movement at various distances).
Benefits of Dribble and Backpedal
Improves acceleration and deceleration with the ball
Works on dribbling speed
Backpedalling benefits defensive movements, like jockeying
Excellent for fitness and conditioning
Develops quick feet

Dribble and Backpedal Instructions
a. Place three cones in a line (sideways), around five yards apart from one another (these are the starting points).
b. Place one cone 10 yards in front of the first, another, 20 yards in front of the second, and another 30 yards in front of the third.
c. Put a ball next to each of the starting cones.
d. To begin, dribble the ball from the starting cone to the cone 10 yards in front of it, leave the ball, and backpedal to the starting position.
e. Shuffle across, then collect the next ball and dribble it to the cone 20 yards in front, before leaving it and backpedaling to the starting point.
f. Shuffle to the final ball and complete the same movements.
g. The drill should be completed at maximum speed.
h. Once you’ve finished, reset the grid and repeat two more times. Use the reset as a short break to gather your breath.
11. Soccer Skill Course
Difficulty Rating - 4.5/5
Practicing passing, dribbling, or shooting in isolation is good for developing individual skills.
However, in a game, you’ve got to put everything together.
So, it’s important to run drills that involve multiple skills and movements.
This soccer skill course was designed with this in mind.
However, I’ve kept it simple to make sure you can set it up in your backyard.
Benefits of Soccer Skill Course
Works on individual skills: passing, dribbling, skill moves, and shooting
Brings multiple skills together just like in a game
Develops ball control and quick feet
Allows you to practice skill moves in a pressure-free environment
Finishes with a shot on goal
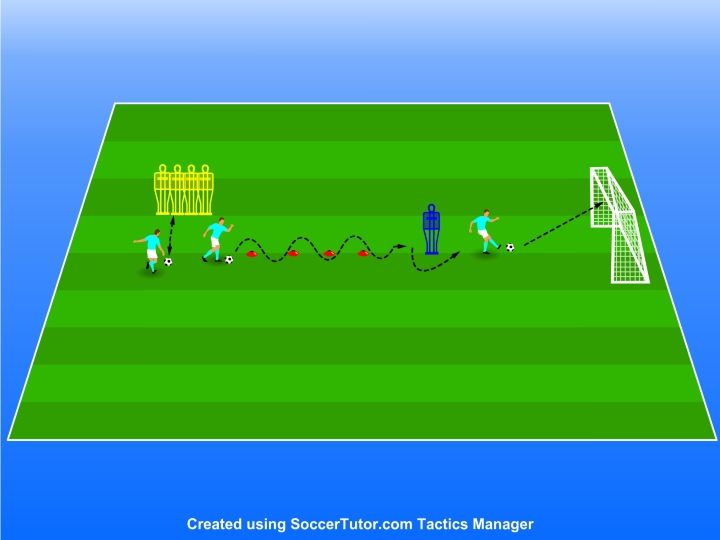
Soccer Skill Course Instructions
a. Set up a four-station circuit, with each station linking to the next:
1. Wall pass station
2. Cone dribbling weave
3. Mannequin (or obstacle posing as defender)
4. Goal
b. Start the drill by playing a quick one-two pass at the wall pass station.
c. Take the ball on the turn, head to the cone weave, and dribble through it.
d. After the weave, dribble toward the mannequin, and perform a skill move as if you were trying to beat the defender.
e. Once you pass the mannequin, get the ball out of your feet and shoot.
f. Perform the course 10 times, working on your weaknesses each time.
Conclusion
Individual soccer drills for your backyard are some of the most effective ways to improve your weaknesses and take major leaps in your technical proficiency.
Whether you spend 10 minutes per day or 10 hours per week practicing, try to be consistent and be sure to focus on all aspects of your game.
Although it's not essential, recording your sessions or taking notes throughout practice can help you track progress.
Keep an eye on our site for more drills and tips for improving your all-around game.

